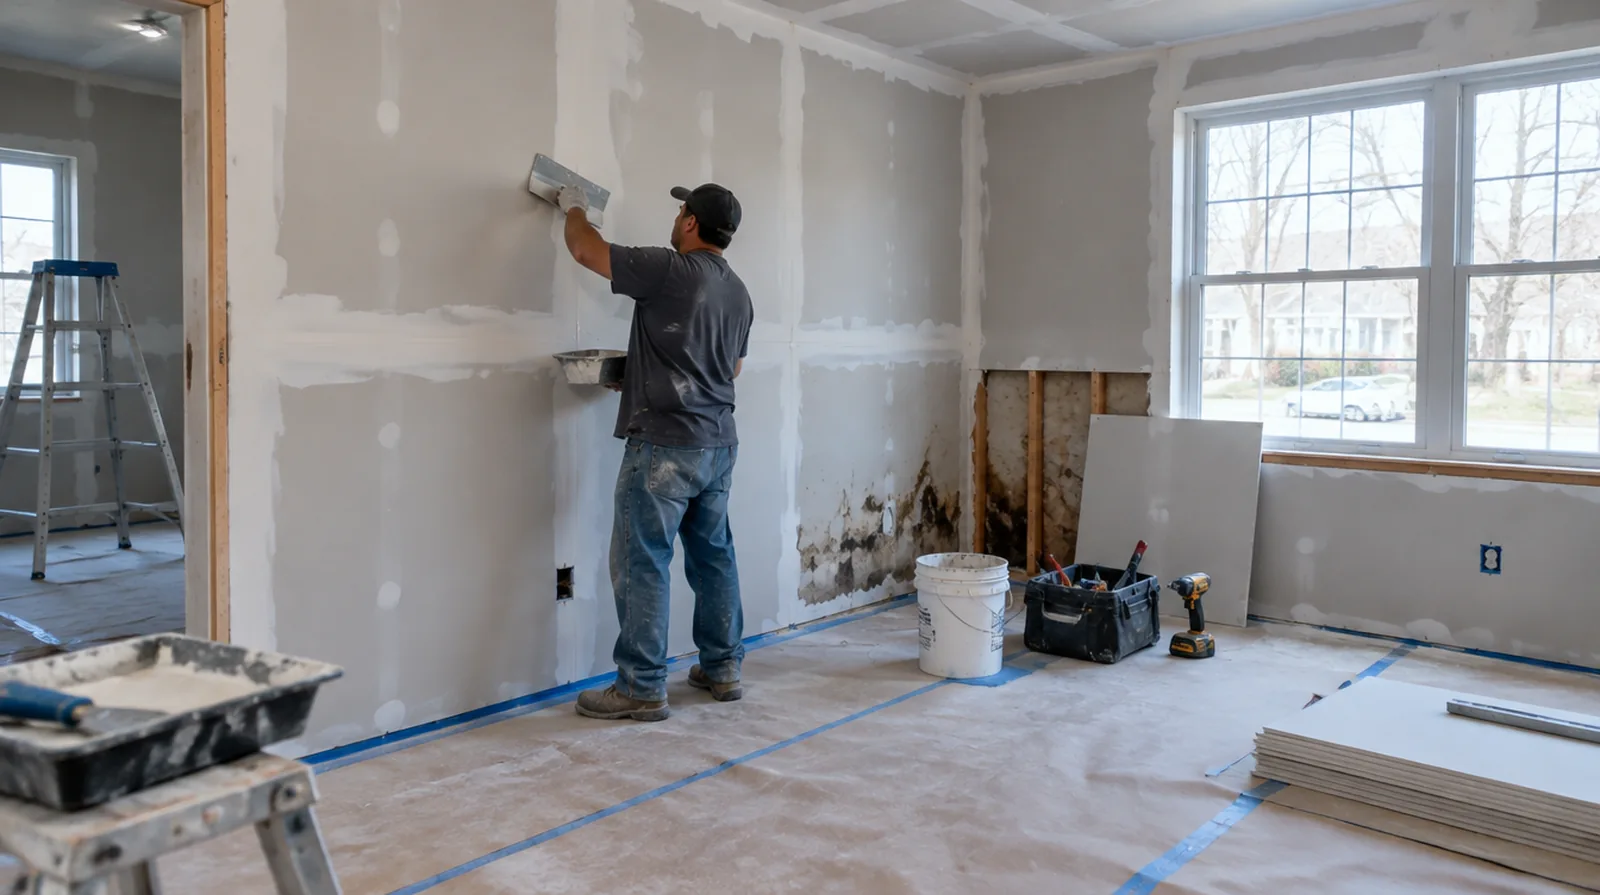
Match the board assembly
Replacement board should suit the original thickness and any applicable wall or ceiling assembly requirements. Water resistant products do not remove the need to correct the conditions that caused the damage. If the problem developed after another renovation, explain which nearby materials or building systems changed before the damage became visible.
Assess material condition
Look for changes in panel strength and face condition as well as the visible color of a mark. The noticeable mark does not always show the full extent of the affected cavity. When more damage could be hidden, ask how any added scope will be documented before extra material is removed or replaced.
Treat remaining discoloration
An old dry mark may bleed through new decoration unless an appropriate primer is selected. Choose that treatment only after confirming the discoloration does not signal continuing moisture. When a wall has repeated defects, keep a record of earlier repair attempts so a new assessment does not simply repeat an unsuccessful approach.
Define selective removal
Removing a controlled section provides access for assessment while preserving material that remains sound. Choose its edge to allow supported replacement and a surface transition that can be blended effectively. When the history of a repair is uncertain, note when it became visible and whether its appearance has altered across different seasons.
Verify drying readiness
A surface that feels dry can still conceal moisture in insulation or framing. The project should identify who verifies the cavity is ready before replacement panels close it again. When a wall has repeated defects, keep a record of earlier repair attempts so a new assessment does not simply repeat an unsuccessful approach.
Agree on decorative boundaries
Repairing the damaged board and restoring a uniform paint finish are related but distinct tasks. A ceiling or wall repaint could need to extend beyond the removed section to look consistent. If the problem developed after another renovation, explain which nearby materials or building systems changed before the damage became noticeable.
Rebuild supported edges
The new board section must connect firmly to suitable backing or sound framing. Stable edges reduce avoidable stress at the boundary between the retained face and the replacement. Where the quoted work stops before painting, request a clear description of what remains so the next decorating stage can be priced realistically.
Resolve the water source
Replacement drywall should follow correction of the leak, condensation or other source that caused the damage. A cosmetic cover will not stop water from entering the same assembly again. If scheduling is the main concern, separate hands on labor from drying intervals instead of treating every visit as a full day of active work.
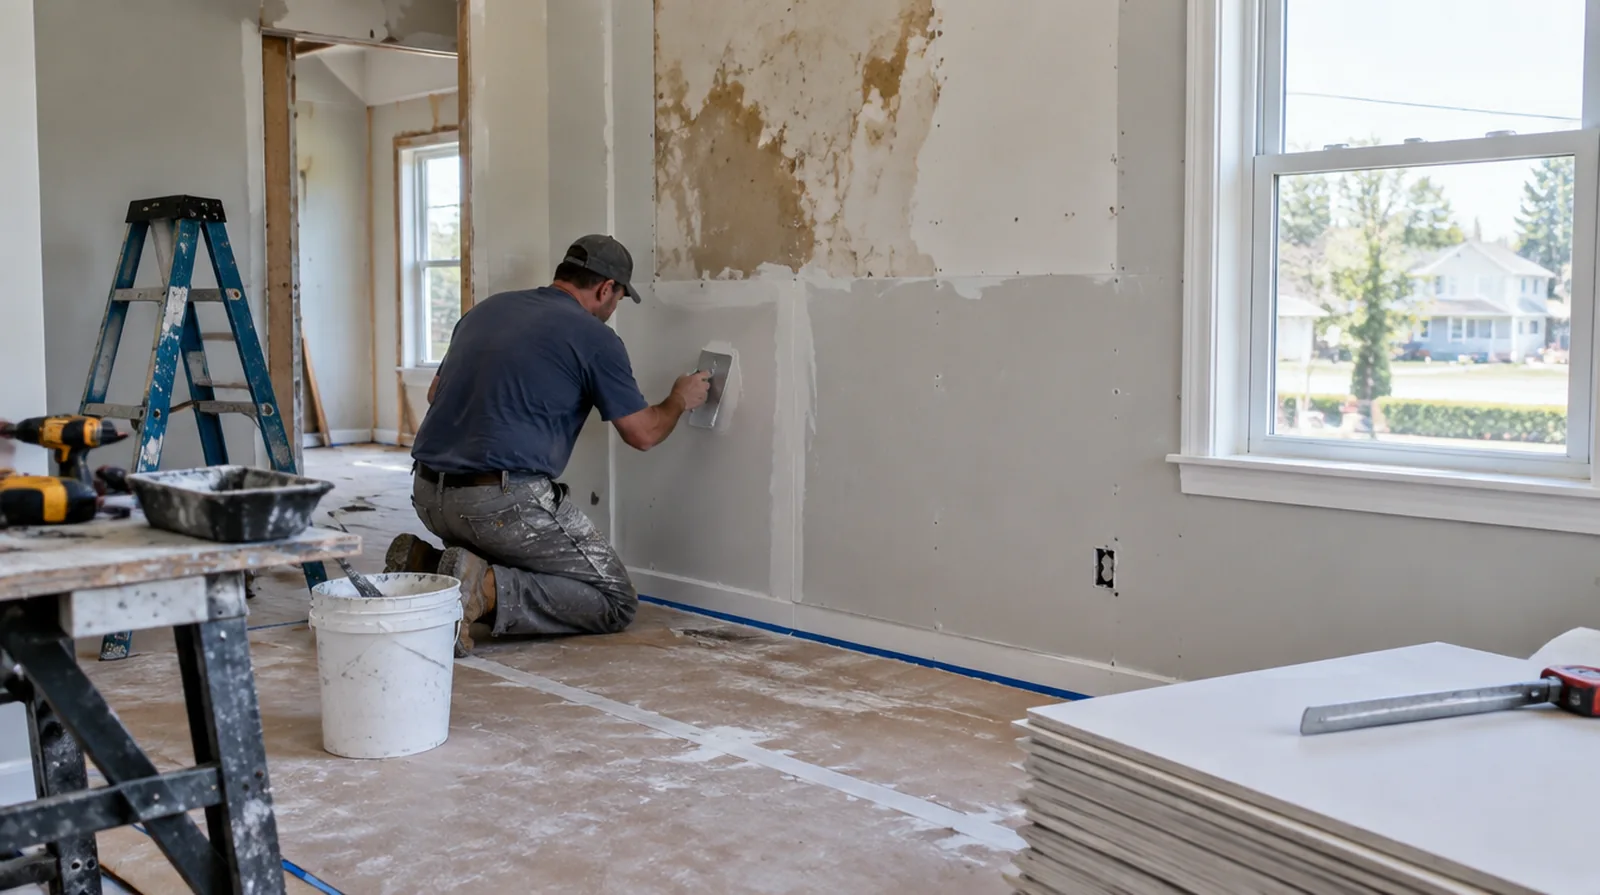
Record the completed scope
Keep notes on the source correction, removed materials and any drying verification supplied by other professionals. That documentation distinguishes the completed drywall scope from continuing upkeep and responsibilities elsewhere in the property. If the wall work belongs to a broader renovation, coordinate its order with flooring, cabinetry and trim instead of scheduling finishing in isolation.
Keep contamination separate
Suspected microbial contamination or exposure to flood water is outside a routine cosmetic patch assessment. Obtain suitable remediation advice about safe containment and removal before arranging ordinary drywall restoration. While a removed panel exposes the wall cavity, complete the necessary review of concealed work before replacement board closes the opening.
Project context in Hempstead
Consider door swings, furniture movement and where protective floor covering can remain safely between visits. A hallway repair can interrupt several rooms even when the damaged board covers only a small area.
Scope questions before finishing
When the wall has strong reflected light, look at the full plane rather than judging only the narrow strip immediately beside the patch.
If the completion date matters most, allow for intervals between coats as well as active labor rather than assuming the entire process happens continuously.
When damage followed other building work, describe the nearby alterations and the sequence between those changes and the first visible defect.
When panel replacement exposes a cavity, resolve any required inspection before that opening is closed and the finishing work begins.
At an edge beside built in furniture, state whether the obstruction will be removed or whether finishing stops at the section that can be reached.
For walls beside bright windows, review a dry sample from an oblique angle as well as looking straight at the repaired surface.
For a limited patch requiring substantial setup, assess the complete package of access and protection rather than relating cost only to the opening size.
At a repair beside an opening, allow clearance for moving board through the doorway and space to use the finishing tools effectively.
Where light reflects along the wall, inspect the complete plane instead of limiting the review to the edge immediately next to the repaired section.
If the ceiling or wall includes fittings, identify the person responsible for removing and reinstalling each item before the work begins.
When comparing competing estimates, make sure their protection, surface finish and disposal allowances describe equivalent work before comparing the final prices.
If scheduling is the main concern, separate hands on labor from drying intervals instead of treating every visit as a full day of active work.
Explore the Hempstead drywall overview for related options, or read the project planning information before arranging the next stage.
More planning details for Hempstead
For a Hempstead house renovation, begin by separating the room that needs surface work from the routes the household still uses. Heating in winter and summer moisture both affect conditions inside a closed room; a calendar estimate should leave room for actual drying rather than a fixed promise based only on patch size. Before the first coat of paint, review how the repaired wall meets existing trim.