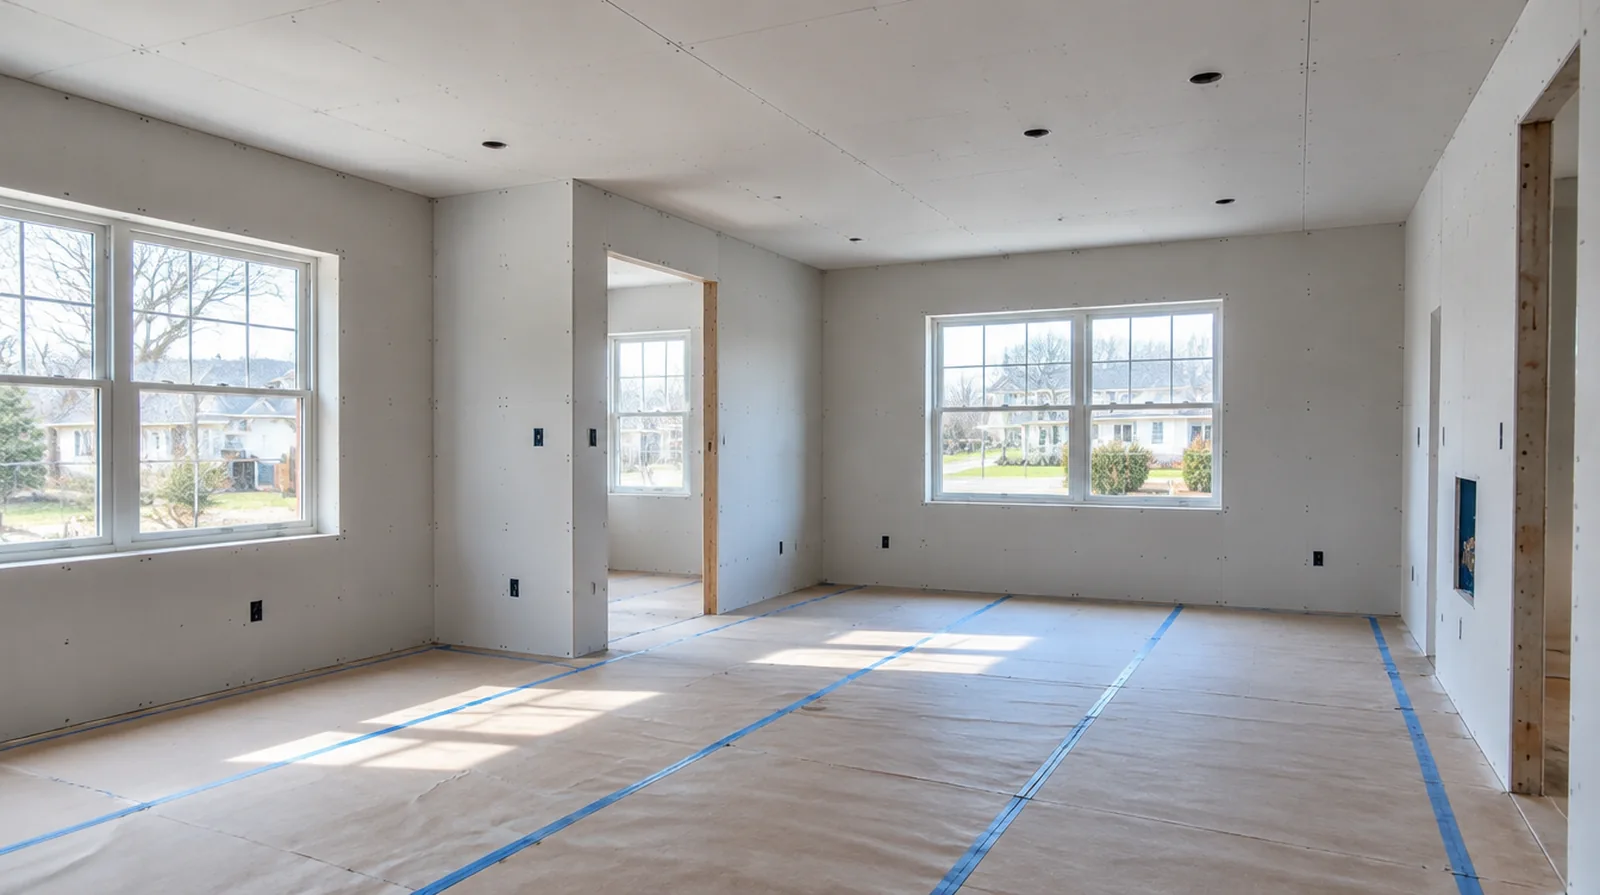
Select appropriate panels
Panel thickness and type depend on the intended wall or ceiling assembly and the conditions in the space. Moisture resistant board is not a substitute for a required waterproofing system in a wet area. If the wall work belongs to a broader renovation, coordinate its order with flooring, cabinetry and trim rather than scheduling finishing in isolation.
Lay out the joints
Arrange supported sheet edges and joint positions with the openings and final finish in mind. A sensible panel pattern makes both the fastening stage and the later joint treatment more straightforward. For a repair that crosses several surfaces, measure the affected planes separately so the estimate can explain where each finishing treatment starts and stops.
Define the finish level
Hanging board and delivering a ready for painting wall are different stages that should be described separately. Strong side lighting or a glossy coating can justify more extensive finishing than a utility room. When a wall has repeated defects, keep a record of earlier repair attempts so a new assessment does not simply repeat an unsuccessful approach.
Sequence the finishing work
Allow the joint treatment to proceed in suitable conditions with adequate intervals between applications. Coordinate room ventilation and entry while the other parts of the renovation continue. When photographs are used for an initial discussion, include a wide room view as well as a close view so scale and surrounding finishes are understandable.
Measure the complete assembly
Board quantities depend on wall height, ceiling coverage, openings and the proposed orientation of the sheets. A measured layout helps reduce narrow infill strips and unnecessary joints around doors. For a surface carrying numerous paint layers, discuss whether differences in the retained profile or sheen justify decorating a broader area.
Control fastening depth
Proper fastening holds the gypsum securely while leaving its face paper intact. Repair overdriven fixings or inadequate edge support instead of expecting compound coats to conceal those defects. Where a neat final edge matters, agree whether the finish ends against existing trim or whether that trim will be removed and replaced.
Confirm concealed work
Required checks on concealed services and insulation ought to be completed while the wall remains open. Photographs and a written readiness check help avoid opening a newly installed wall later. For walls beside bright windows, review a dry sample from an oblique angle as well as looking straight at the repaired surface.
Fit corners and openings
Door returns and exposed corners require a straight consistent edge before the final compound coats are applied. Select the exposed edge profile for the design and the level of contact it will receive. When concealed damage is possible, establish how additional findings and any proposed removal will be recorded before the scope changes.
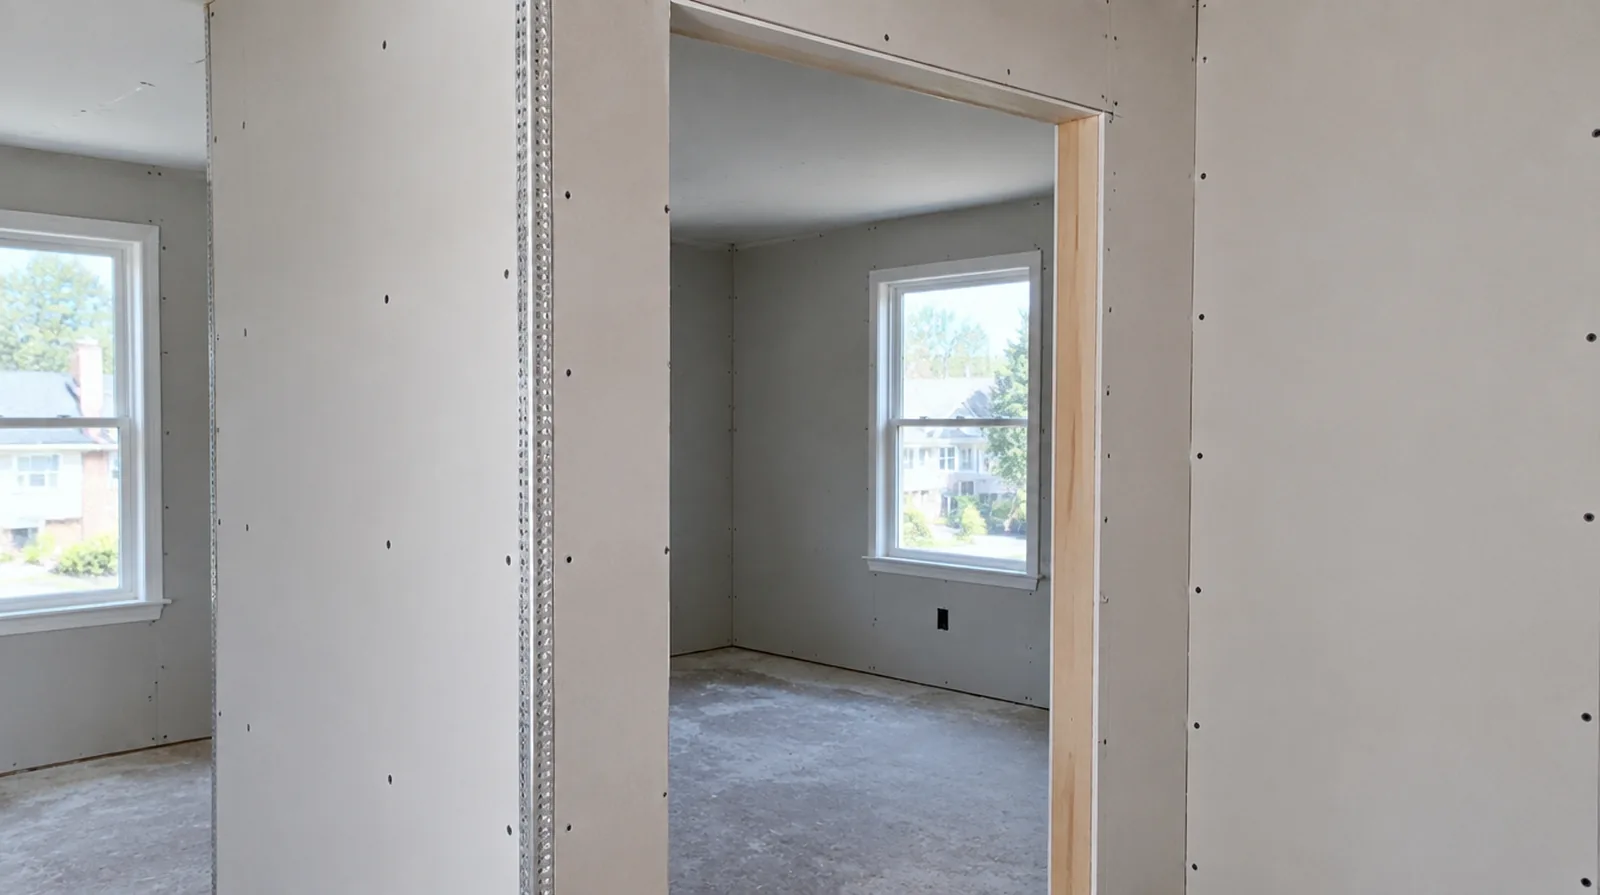
Treat perimeter details
Gaps and junctions at floors, ceilings and adjacent materials need details that suit the specified assembly. The relevant fire or acoustic assembly may specify particular perimeter seals and treatments. For a repair that crosses several surfaces, measure the affected planes separately so the estimate can explain where each finishing treatment starts and stops.
Inspect supporting framing
An uneven support plane can remain apparent after new gypsum panels are attached. Deal with significant framing irregularities while the structure is exposed, before the boards conceal it. If a distinct painter completes decoration, agree the condition of the handed over surface and assign responsibility for small final corrections.
Project context in Hempstead
For a Hempstead house renovation, begin by separating the room that needs surface work from the routes the household still uses. A hallway repair can interrupt several rooms even when the damaged board covers only a small area.
Scope questions before finishing
If the proposal requires return visits, identify the purpose of each stage and the intervals during which finishing material needs to remain undisturbed.
When the wall has strong reflected light, look at the full plane instead of judging only the narrow strip immediately beside the patch.
If the ceiling or wall includes fittings, identify the person responsible for removing and reinstalling each item before the work begins.
For a distinctive existing pattern, retain a reference sample or detailed picture to make the matching discussion more specific.
When comparing competing estimates, make sure their protection, surface finish and disposal allowances describe equivalent work before comparing the final prices.
If occupancy must resume on a certain day, include the later primer and paint stages in the timetable as well as drywall installation and finishing.
If scheduling is the main concern, separate hands on labor from drying intervals instead of treating every visit as a full day of active work.
If a separate painter completes decoration, agree the condition of the handed over surface and assign responsibility for small final corrections.
When the decorative coating has been selected, tell the finisher its intended sheen and color while the preparation of the surface standard is still being agreed.
When concealed damage is possible, establish how additional findings and any proposed removal will be recorded before the scope changes.
If a household member is sensitive to dust, discuss containment and cleaning expectations before choosing how to stage the room work.
Where flooring is staying in place, agree on protective coverings and check that tools and material handling will not damage the visible finish.
Explore the Hempstead drywall overview for related options, or read the project planning information before arranging the next stage.
More planning details for Hempstead
Consider door swings, furniture movement and where protective floor covering can remain safely between visits. Heating in winter and summer moisture both affect conditions inside a closed room; a calendar estimate should leave room for actual drying rather than a fixed promise based only on patch size. Before the first coat of paint, review how the repaired wall meets existing trim.